After my first photoshoot where I managed to take a series of photographs which I could use for my Digipak, I decided that I could attempt to edit my one of my photos to see how it could turn out.
 |
| This is the Photo I am experimenting with. |
 |
| Firstly I zoomed into the eye to edit it closely. |
 |
| Using the burn and dodge tool, I made the whites of Alice's Eye much more white, as well as the 'Glisten' in the pupil. |
 |
| I then highlighted the eye with the magic wand tool. I Then wanted to make the blue in Alice's eye more vibrant. |
 |
| Using Hue/Saturation, I Added saturation making the blue stand out more. |
 |
| The Eye finished! |
 |
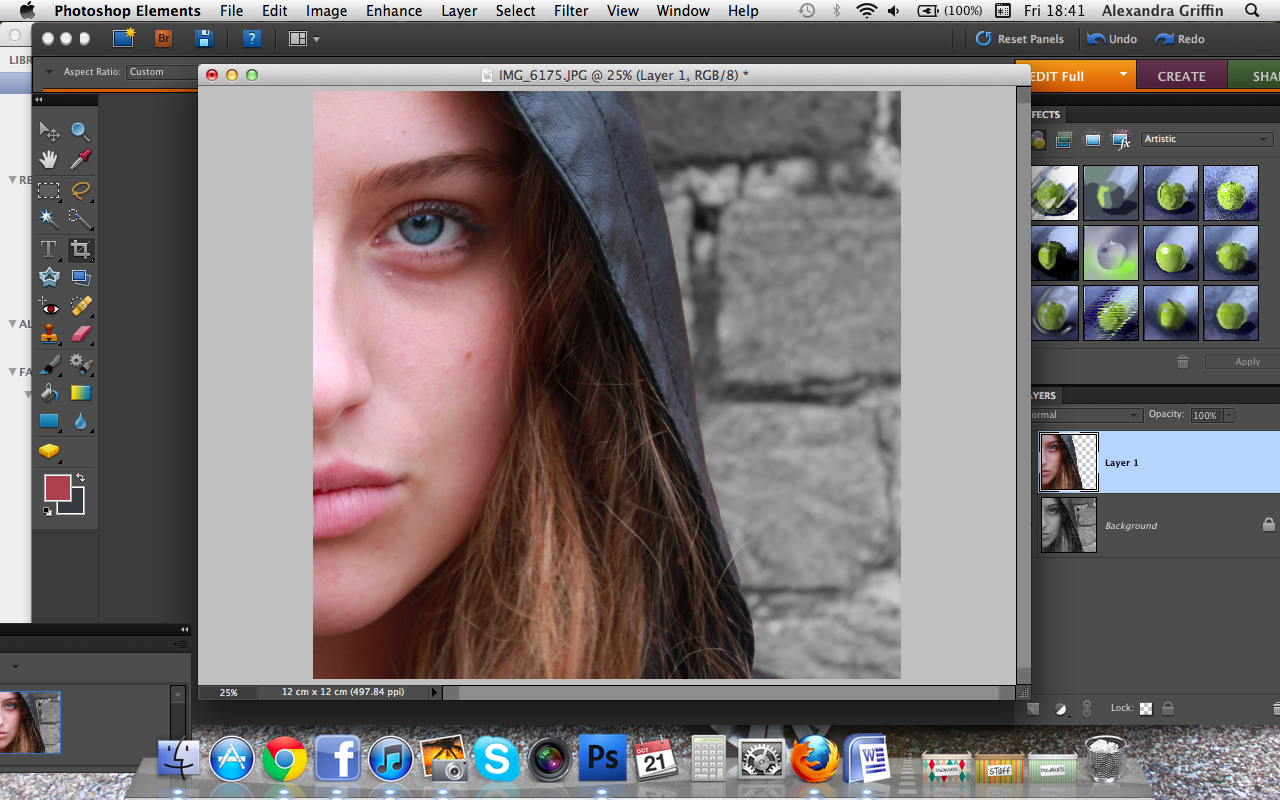
| I then highlighted around Alice using the Magic wand tool again and copied and pasted her as a layer. |
 |
| I could then make the background black and white, leaving Alice in colour which looks very good in my opinion! |
 |
| I Then closely cropped the image to leave half of her face. I think this looks really effective as well! |
 |
| As I haven't decided a name for my artist, Just to experiment with typography, I used the phrase 'NAME'. I also found a pretty basic font. |
 |
| I then Rotated the text to go down the side of the frame. |
 |
| This is the result of my CD cover experiment! |
No comments:
Post a Comment